Cat:Products
Continuous tubing, also known as flexible tubing or flexible tubing, is widely used in the fields of well workover, logging and drilling, etc. Its pro...
See Details
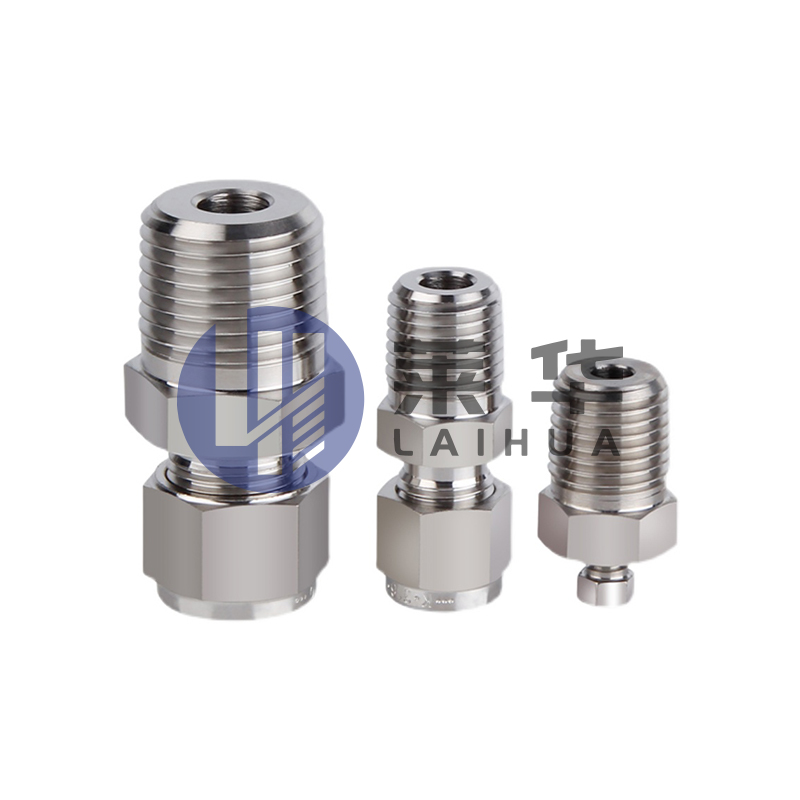
In order to avoid eccentricity, rough or uneven conical surface of stainless steel ferrule joints during the manufacturing process, optimization and control can be carried out from five aspects: design, materials, process, equipment and quality inspection. The following is a detailed analysis and improvement measures:
Ensure that the cone angle matches the overall structure of the joint during design to avoid processing difficulties or assembly errors due to improper design.
Clearly mark the tolerance range of key dimensions (such as cone angle, thickness and roundness) during the drawing design stage to ensure that there is a clear benchmark for processing and assembly.
Use finite element analysis tools during the product design stage to simulate the performance of the joint under different stress conditions, optimize the cone structure, and improve the uniformity of force.
Select high-quality stainless steel materials (such as 304, 316L) to ensure uniform internal structure of the material and avoid eccentricity or roughness caused by uneven hardness of the material during processing.
Perform necessary heat treatment on the raw materials, such as annealing or solution treatment, to reduce residual stress and improve the processing performance of the material.
Use high-precision CNC lathes or machining centers to process the key parts of the ferrule joint (such as the cone surface) to ensure accurate dimensions and avoid eccentricity.
Choose high-hardness, high-wear-resistant tools suitable for stainless steel processing, keep the tools sharp, and replace or re-grind them regularly to prevent rough taper surfaces caused by tool passivation.
Set reasonable cutting speed, feed speed and cutting depth to avoid rough processing surfaces caused by vibration or overheating.
Use coolants or lubricants suitable for stainless steel processing to reduce friction heat and improve processing surface quality.
Calibrate processing equipment regularly to ensure that the spindle concentricity and tool positioning accuracy are within the allowable range to avoid eccentricity problems.
Design special fixtures to ensure accurate positioning of the workpiece during processing to avoid processing deviations caused by loose clamping.
Perform precision polishing or micro-grinding on the taper to improve surface finish and eliminate minor unevenness during processing.
Use optical measuring instruments, three-coordinate measuring machines (CMM) or laser detectors to detect key dimensions and surface roughness to ensure that the product meets design requirements.
Detect the concentricity of the taper surface of the joint and the axis, and adjust the equipment or process in time if deviations are found.
Improve the skill level of operators, ensure the standardization of equipment operation and clamping process, and reduce deviations caused by human factors.
Establish a complete quality management system, set quality inspection points at each link of production, and prevent defective products from flowing into the next process.
Conduct statistical analysis on eccentricity or rough cone surface problems in production, find out the root cause of the problem, and optimize the process flow.
Gradually introduce higher precision processing equipment according to demand to ensure long-term stable production quality.
Through the above measures, the eccentricity, rough or uneven cone surface of stainless steel ferrule joints can be effectively avoided during the manufacturing process, thereby improving the sealing and service life of the product.

Contact Us